Let’s face it, there are a a lot of different Arduino boards out there. How do you decide which one you need for your project? With this table, you can not only compare features between all the different Arduino boards we carry, but you can also see why these differences are important.
What is an Arduino?
Let’s first talk about what an Arduino really is. Arduino is an open-source electronics prototyping platform based on flexible, easy-to-use hardware and software. It’s intended for artists, designers, hobbyists, and anyone interested in creating interactive objects or environments. Or more simply, you load on some code and it can read sensors, perform actions based on inputs from buttons, control motors, and accept shields to further expand it’s capabilities. Really, you can do almost anything.
All Arduino boards have one thing in common: they are programmed through the Arduino IDE. This is the software that allows you to write and upload code. Beyond that, there can be a lot of differences. The number of inputs and outputs (how many sensors, LEDs, and buttons you can use on a single board), speed, operating voltage, and form factor are just a few of the variables.
Why are they different?
Some boards are designed to be embedded and have no programming interface (hardware) which you would need to buy separately. Some can run directly from a 3.7V battery, others need at least 5V. Check the chart below to find the right Arduino for your project. Be sure to read the glossary below as well for a discussion of terms.
Item, uC, Input Voltage, System Voltage, Clock Speed, Digital I/O, Analog Inputs PWM, UART, Flash Space, Bootloader, Programming Interface
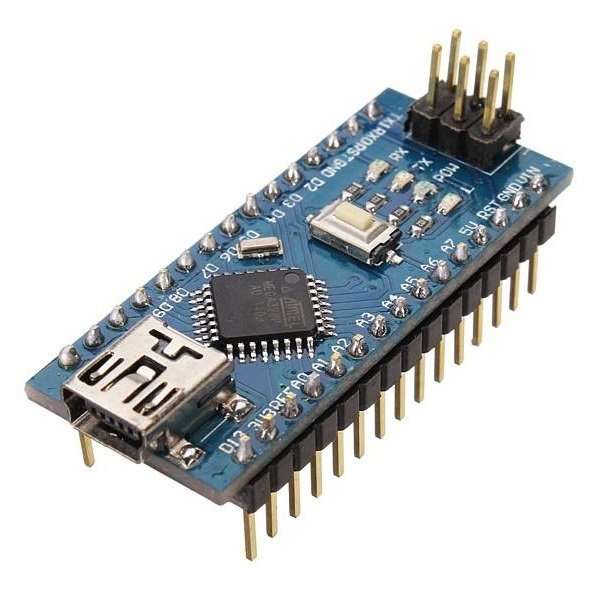
Arduino Due
AT91SAM3X8E 7-12V 3.3V 84MHz 54* 12 12 4 512Kb Due USB native
Arduino Leonardo
ATmega32U4 7-12V 5V 16MHz 20* 12 7 1 32Kb Leonardo USB native
Arduino Uno – R3
ATmega328 7-12V 5V 16MHz 14 6 6 1 32Kb Optiboot USB via ATMega16U2
Arduino Uno SMD
(retired)
ATmega328 7-12V 5V 16MHz 14 6 6 1 32Kb Optiboot USB via ATMega8U2
Arduino Uno
(retired)
ATmega328 7-12V 5V 16MHz 14 6 6 1 32Kb Optiboot USB via ATMega8U2
Arduino Duemilanove
(retired)
ATmega328 7-12V 5V 16MHz 14 6 6 1 32Kb AtmegaBOOT USB via FTDI
Arduino Bluetooth
(retired)
ATmega328 1.2-5.5V 5V 16MHz 14 6 6 1 32Kb AtmegaBOOT Bluetooth Serial
Arduino Pro 3.3V/8MHz
ATmega328 3.35 -12V 3.3V 8MHz 14 6 6 1 32Kb AtmegaBOOT FTDI-Compatible Header
Arduino Pro 5V/16MHz
ATmega328 5 – 12V 5V 16MHz 14 6 6 1 32Kb AtmegaBOOT FTDI-Compatible Header
Ethernet Pro
(retired)
ATmega328 7-12V 5V 16MHz 14 6 6 1 32Kb AtmegaBOOT FTDI-Compatible Header
Arduino Mega 2560 R3
ATmega2560 7-12V 5V 16MHz 54 16 14 4 256Kb STK500v2 USB via ATMega16U2
Arduino Mega 2560
(retired)
ATmega2560 7-12V 5V 16MHz 54 16 14 4 256Kb STK500v2 USB via ATMega8U2
Arduino Mega
(retired)
ATmega1280 7-12V 5V 16MHz 54 16 14 4 128Kb STK500v2 USB via FTDI
Mega Pro 3.3V
ATmega2560 3.3-12V 3.3V 8MHz 54 16 14 4 256Kb STK500v2 FTDI-Compatible Header
Mega Pro 5V
ATmega2560 5-12V 5V 16MHz 54 16 14 4 256Kb STK500v2 FTDI-Compatible Header
Arduino Mini 04
(retired)
ATmega328 7-9V 5V 16MHz 14 6 8 1 32Kb AtmegaBOOT Serial Header
Arduino Mini 05
ATmega328 7-9V 5V 16MHz 14 6 8 1 32Kb AtmegaBOOT Serial Header
Arduino Pro Mini 3.3V/8MHz
ATmega328 3.35 -12V 3.3V 8MHz 14 6 6 1 32Kb AtmegaBOOT FTDI-Compatible Header
Arduino Pro Mini 5V/16MHz
ATmega328 5 – 12V 5V 16MHz 14 6 6 1 32Kb AtmegaBOOT FTDI-Compatible Header
Arduino Fio
ATmega328P 3.35 -12V 3.3V 8MHz 14 8 6 1 32Kb AtmegaBOOT FTDI-Compatible Header or Wirelessly via XBee1
Mega Pro Mini 3.3V
ATmega2560 3.3-12V 3.3V 8MHz 54 16 14 4 256Kb STK500v2 FTDI-Compatible Header
Pro Micro 5V/16MHz
ATmega32U4 5 – 12V 5V 16MHz 12 4 5 1 32Kb DiskLoader Native USB
Pro Micro 3.3V/8MHz
ATmega32U4 3.35 – 12V 3.3V 8MHz 12 4 5 1 32Kb DiskLoader Native USB
LilyPad Arduino 328 Main Board
ATmega328 2.7-5.5V 3.3V 8MHz 14 6 6 1 32Kb AtmegaBOOT FTDI-Compatible Header
LilyPad Arduino Simple Board
ATmega328 2.7-5.5V 3.3V 8MHz 9 4 5 02 32Kb AtmegaBOOT FTDI-Compatible Header
1 The miniUSB connector on the Arduino Fio is used for battery charging only . An Xbee module is not included with this board.
2The LilyPad Simple Board does have one UART but the pins aren’t broken out to pads. Serial communication can be achieved through the FTDI header.
*The Arduino Leonardo has the same GPIO pin-count as the other “Uno” style boards but more of the pins play “double duty” as both analog and digital pins, thus the higher numbers.
Glossary of Terms:
uC (Microcontroller): The microcontroller is the heart (or, more appropriately, the brain) of the Arduino board. The Arduino development board is based on AVR microcontrollers of different types, each of which have different functions and features.
Input Voltage: This is the suggested input voltage range for the board. The board may be rated for a slightly higher maximum voltage but this is the safe operating range. A handy thing to keep in mind is that many of the Li-Po batteries that we carry are 3.7V meaning that any board with an input voltage including 3.7V can be powered directly from one of our Li-Po battery packs.
System Voltage: This is the system voltage of the board, i.e. the voltage that the microcontroller is actually running at. This is an important factor for shield-compatibility since the logic level is now 3.3V instead of 5V. You always want to be sure that whatever outside system with which you’re trying to communicate is able to match the logic level of your controller.
Clock Speed: This is the operating frequency of the microcontroller and is related to the speed at which it can execute commands. Although there are rare exceptions, most ATMega microcontrollers running at 3V will be clocked at 8MHz whereas most running at 5V will be clocked at 16MHz. The clock speed of the Arduino can be divided down for power savings with a few tricks if you know what you’re doing.
Digital I/O: This is the number of digital input/output pins that are broken out on the Arduino board. Each of these can be configured as either an input or an output, some are capable of PWM and some double as serial communication pins.
Analog Inputs: This is the number of analog input pins that are available on the Arduino board. Analog pins are labeled “A” followed by their number, they allow you to read analog values using the analog-to-digital converter (ADC) in the ATMega chip. Analog inputs can also be configured as more digital I/O if you need it!
PWM: This is the number of digital I/O pins that are capable of producing a PWM signal. A PWM signal is like an analog output, it allows your Arduino to “fake” an analog voltage between zero and the system voltage.
UART: This is the number of separate serial communication lines your Arduino board can support. On most Arduino boards, digital I/O pins 0&1 double as your serial send and receive pins and are shared with the serial programming port. Some Arduino boards have multiple UARTs and can support multiple serial ports at once. All Arduino boards have at least one UART for programming, but some aren’t broken out to pins that are accessible.
Flash Space: This is the amount of program memory that the chip has available for your to store your sketch. Not all of this memory is available as a very small portion is taken up by the bootloader (usually between 0.5 and 2KB).
Bootloader: If the microcontroller is the brain of the Arduino board, then the bootloader is its personality. Without the bootloader, it just wouldn’t be an Arduino. The bootloader lives on the ATMega chip and allows you to load programs through the serial port instead of having to use a hardware programmer. Because different Arduino board use different microcontrollers and programming interfaces, there are different bootloader programs on each. The source code for the bootloaders can be found in your Arduino distribution. All Arduino bootloaders will allow you to load code from the Arduino IDE.
Programming Interface: This is how you hook up the Arduino board to your computer for programming. Some boards have a USB jack on-board so that all you need to do is plug them into a USB cable, others have a header available so that you can plug in an FTDI Basic breakout or FTDI Cable. Other boards, like the Mini, break out the serial pins for programming but aren’t pin-compatible with the FTDI header. Any Arduino board that has a USB jack on-board also has some other hardware that enables the serial to USB conversion. Some boards, however, don’t need additional hardware because their microncontrollers have built-in support for USB.