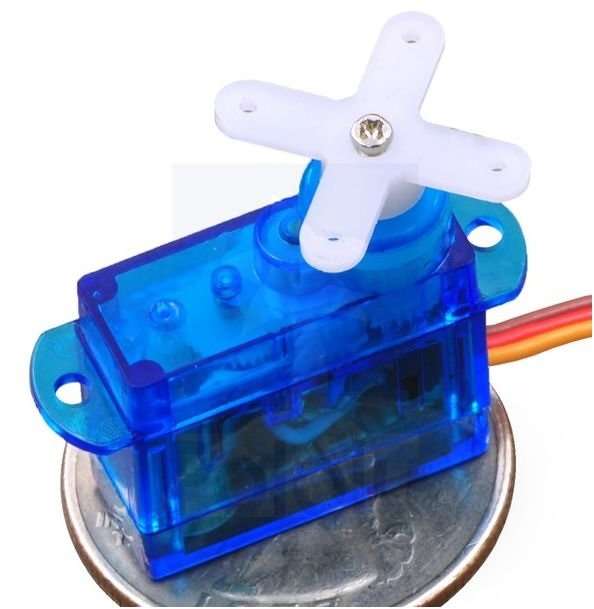
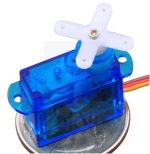
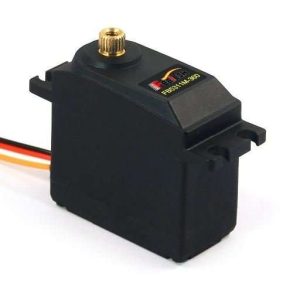
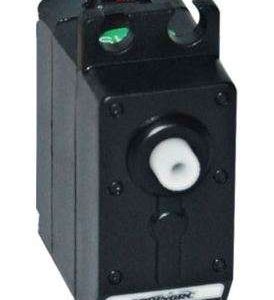
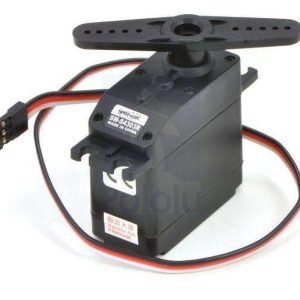
It is a micro servo that has been built specifically for continuous rotation, making it an easy way to get your robot moving.. Key specs at 6 V: 130 RPM, 1.5 kg-cm.
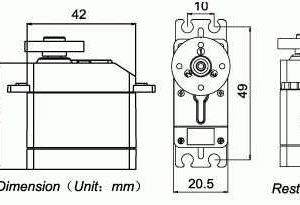
Dimensions
| Size: | 23.2 × 12.5 × 22 mm |
|---|---|
| Weight: | 9 g |
General specifications
| Digital?: | N |
|---|---|
| Free-run current @ 6V: | 200 mA |
| Stall current @ 6V: | 600 mA1 |
| Speed @ 6V: | 0.07 sec/60°2 |
| Stall torque @ 6V: | 21 oz·in |
| Speed @ 4.8V: | 0.09 sec/60°3 |
| Stall torque @ 4.8V: | 18 oz·in |
| Lead length: | 7 in |
| Hardware included?: | Y |
Notes:
- 1
- This value came from our tests. It is not specified by the manufacturer and therefore could change without notice. Stalling should generally be avoided as it can damage the motor and gears.
- 2
- About 130 RPM.
- 3
- About 100 RPM.
At 6 V, it has a maximum rotation speed of around 130 RPM (no-load) and can produce up to 21 oz-in (1.5 kg-cm) of torque. The servo can be controlled using a direct connection to a single microcontroller I/O line without any additional electronics, which makes it a great miniature actuator for beginner robotics projects
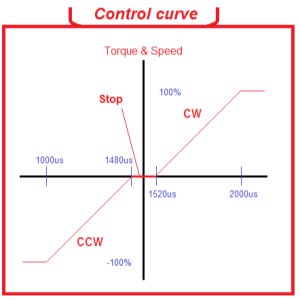
The FS90R continuous rotation servo converts standard RC servo position pulses into continuous rotation speed. The default rest point is 1.5 ms, but this can be adjusted by using a small slotted screwdriver to turn the middle-point positioner. Pulse widths above the rest point result in counterclockwise rotation, with speed increasing as the pulse width increases; pulse widths below the rest point result in clockwise rotation, with speed increasing as the pulse width decreases.
The servo has a 7″ (180 mm) lead that is terminated with a JR-style connector and includes additional servo horns and mounting hardware.
To control with an Arduino, we suggest connecting the orange control wire to pin 9 or 10 and using the Servo library included with the Arduino IDE (see here for an example sketch). Position “90” (1.5ms pulse) is stop, “180” (2ms pulse) is full speed forward, “0” (1ms pulse) is full speed backwards. They may require some simple calibration, simply tell the servo to ‘stop’ and then gently adjust the potentiometer in the recessed hole with a small screwdriver until the servo stops moving.
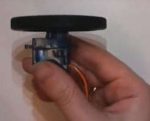
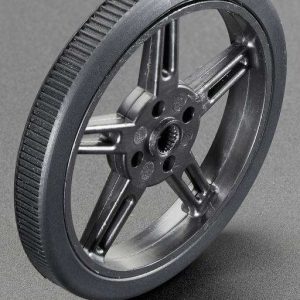
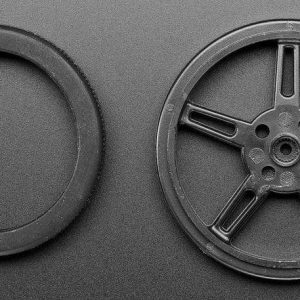
For example, you can connect this servo directly to our specially designed servo wheel.
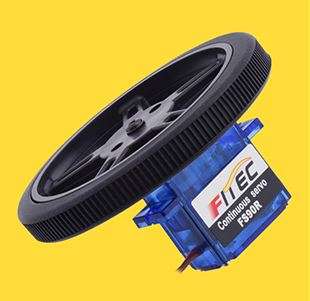
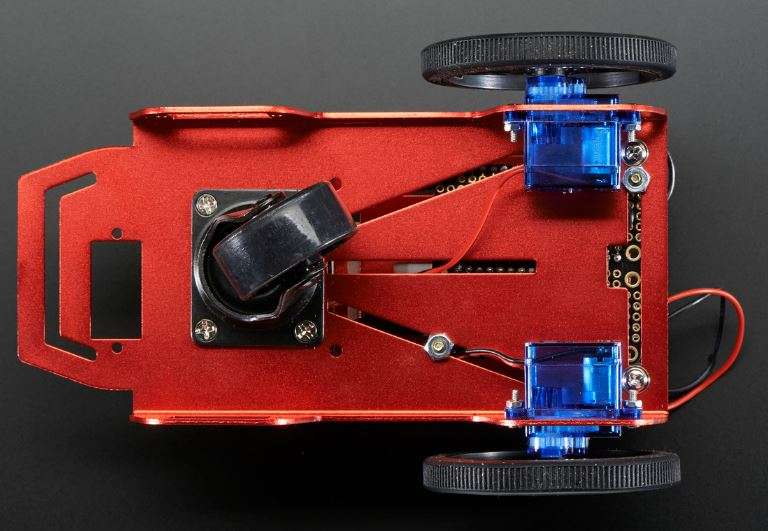
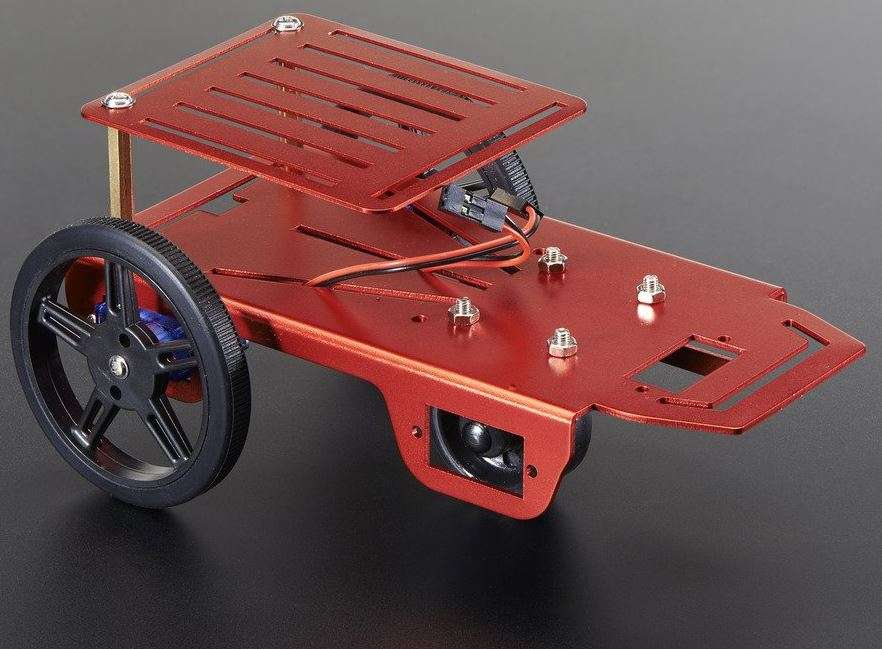
Or built a 2 wheel robot onto your robot chassis.
